You want to make your own scented candles, but you don’t know where to start? Well, this is your lucky day.
We will teach you all the magic of it and soon you will find out you’ve become a master of the process.
Can’t wait to start? Okay, let’s dive in!
How to Make your Own Scented Candles
Candle-making at home is more of a relaxing process than a complicated activity. You need to follow a few basic steps and you will be ready faster than you know it.
After you’ve done the basic process once or twice you can move on to some more complicated candle-making procedures but with more interesting results too.
You can do it almost entirely with items you probably have in your own home. You will only have to purchase one or two things to complete your candles.
Read below to find out what they are and what the steps of the process are.
1. Prepare Containers and Supplies

It’s time for ingredient listing! Here is a little checklist for you with everything you will need for your homemade candles:
- Wax;
- Containers;
- Wicks;
- Fragrances;
- Coloring if you want;
- Popsicle Sticks.
Any type of heat-proof container will do the job. You could repurpose Mason jars or use special glass containers for candles, but even a simple tin could turn into an elegant candle with a pleasant aroma.
There are different types of candle wax such as beeswax, soy wax, or paraffin, which you can purchase at the store. It usually comes in flakes for easy measurement.
The wicks will be necessary for the candles to burn and the popsicles will be needed to keep the wick stable while you’re pouring the wax. You will need the spatula to gently stir the wax as it is melting.
For the fragrance, you can use essential oils or fragrance oils with whatever scents give you the most pleasure or even do combinations of aromas. There is also special coloring for candles you can purchase to add a pop of color to your craft.
Now that we’ve cleared that, let’s get to business.
2. Measure the Wax you will Need
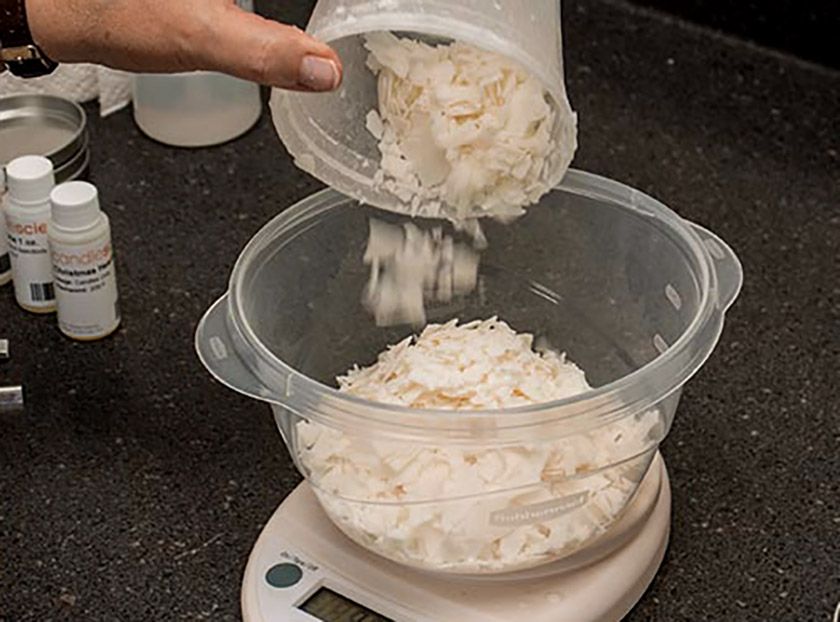
If you’ve purchased wax in the form of flakes, measuring will be easy. Pour the flakes into the container to see what quantity fits inside.
Keep in mind that as it melts, the wax will take up a lot less space than when it’s in the form of flakes. To keep an optimal volume of melted wax, use about two containers of wax flakes for one candle.
3. Time for Melting
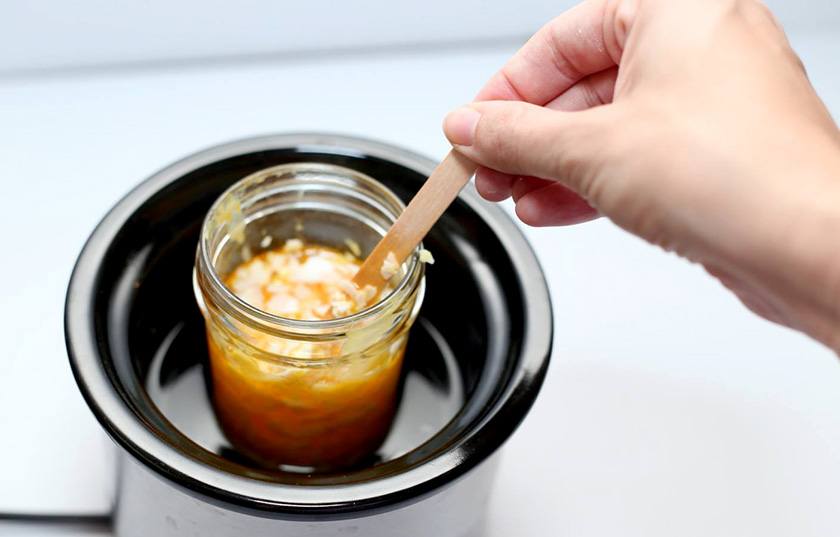
Now it’s time for one of the fun parts of the process – wax melting. Get a pot and fill it with the wax you’ve measured.
Place the pot on the stove and slowly boil the wax at a low temperature. Here are the melting temperatures of different kinds of wax:
- Soy wax: 124 degrees Fahrenheit
- Beeswax: 145 degrees Fahrenheit;
- Paraffin: 100 degrees Fahrenheit.
Use the spatula to slowly stir the wax as it is melting to make the process faster and ensure that the texture of the liquid is smooth.
4. The Best Part – Aromas
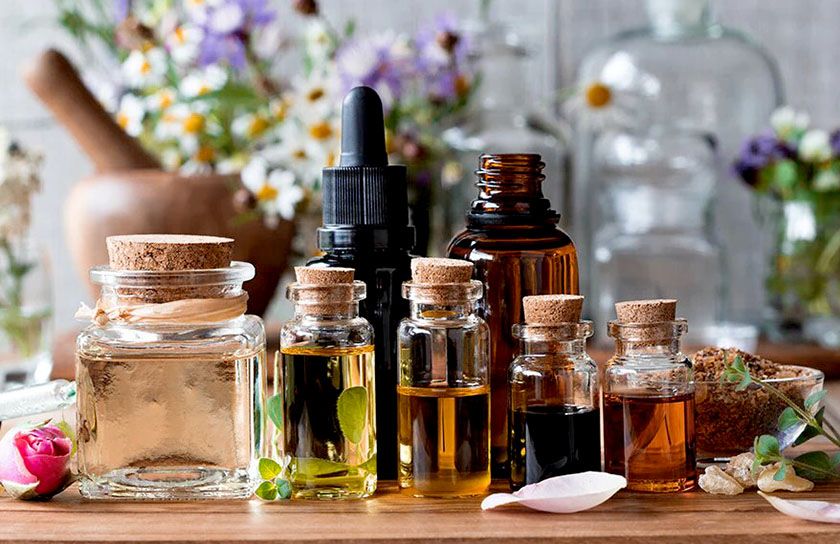
Now comes the best part of the whole thing, and the best smelling one too: adding the fragrances.
If the fragrances are specifically made for candles, follow the particular instructions from the manufacturer.
In case you are using essential oils, for an 8-ounce candle you will need to add between 30 and 40 drops of the fragrance. Use the spatula to stir as you are adding the drops.
Get creative and make some unique fragrance combinations to bring a fresh smell to your home after you’re done with candle making.
If you’re adding color, now’s the time to do that too.
5. Don’t Forget the Wick
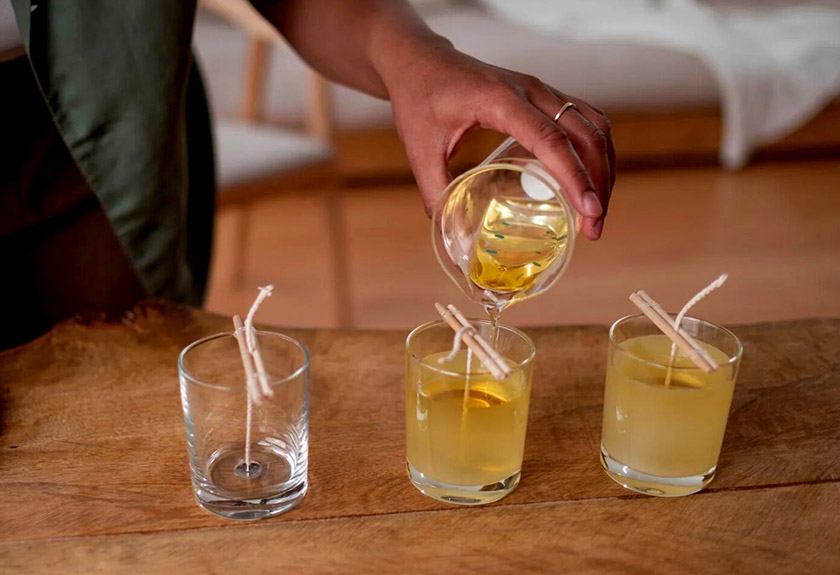
Now that you’re ready with the wax mixture, it’s time to pour it into the containers but before that, you need to remember to place the wicks. Pour a drop of wax at the center of the bottom of the container and place the wick over it.
To keep the wick standing up while you’re pouring the wax, place two popsicles on the top of the jar and place them on the two sides of the wick so that they hold it. Now you’re good to go.
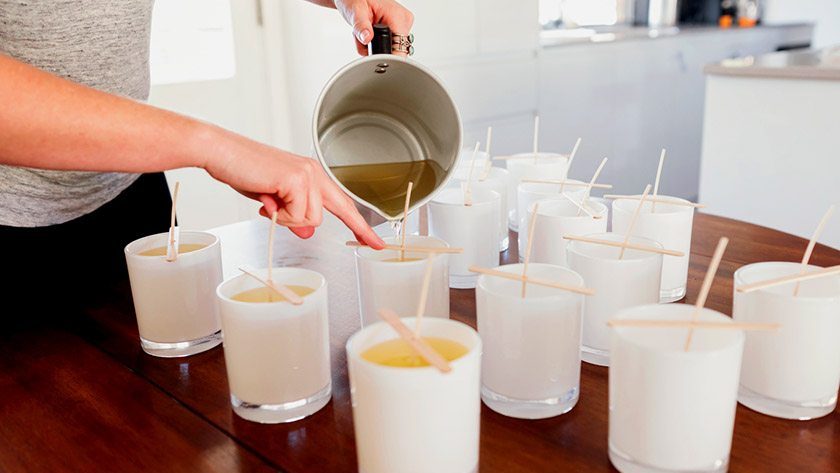
6. Wax Pouring
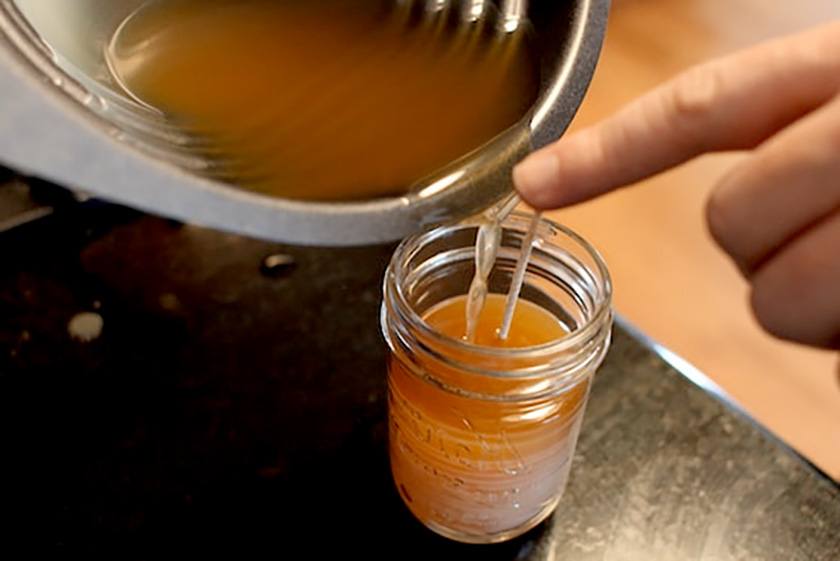
Pour the wax slowly because if you do it too fast there might be many bubbles forming. Fill up to below the rim of the container and now the wax is ready to cure, meaning to become hard again.
The wax will harden in a few hours, but it will need between 2-10 days to be ready to use, depending on the type of wax you’ve chosen.
After that you will be ready for some relaxing aromatherapy time.