Face contouring is a technique used by professional makeup artists for decades, but it truly went viral on Instagram these days, especially with The Kardashians.
If you ever tried pulling it off it might not have worked for you as well as it works for Instagram influencers.
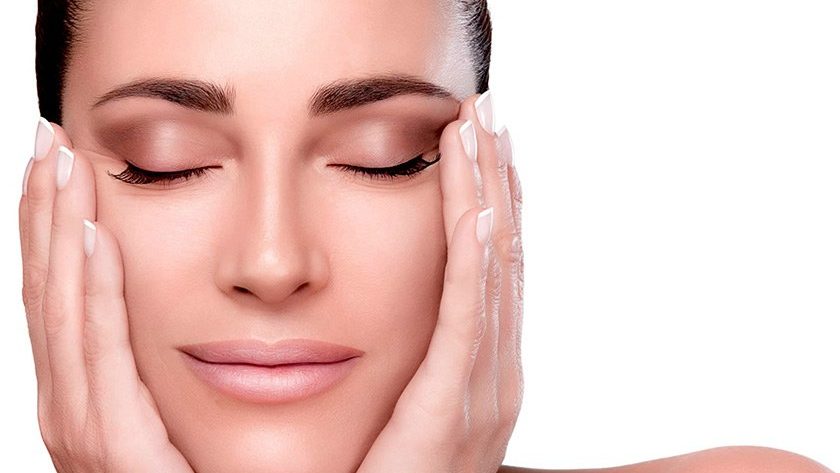
The truth is, you don’t really need to be a professional to contour your face the right way without making it look like you have a plastic mask on. Just read along to find out the proper techniques for face contouring like a pro.
How to Contour for a Natural but Sculpted Look
The main goal of contouring is to sculpt your face by highlighting and defining your good features. It adds structure and brings out your best facial shapes.
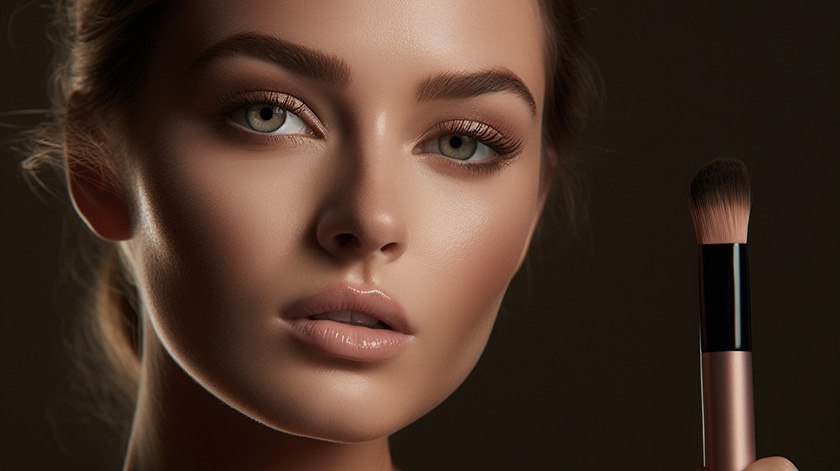
There are three types of contouring products: liquid, powder, and cream contour. The powder contour is the most common one and it’s perfect for beginners.
Liquid and cream contours are harder to use, because the creamy one doesn’t blend that easily, and with the liquid version you have to be careful with the nuance. These two types are perfect for someone who is more advanced at the technique.
Now that we’ve covered the product choice, it’s time to go to the steps of face contouring like a makeup artist.
Create the Base
Start your makeup routine as usual by applying a moisturizer and a primer that will keep your makeup on during the day. After that it’s time for the foundation.
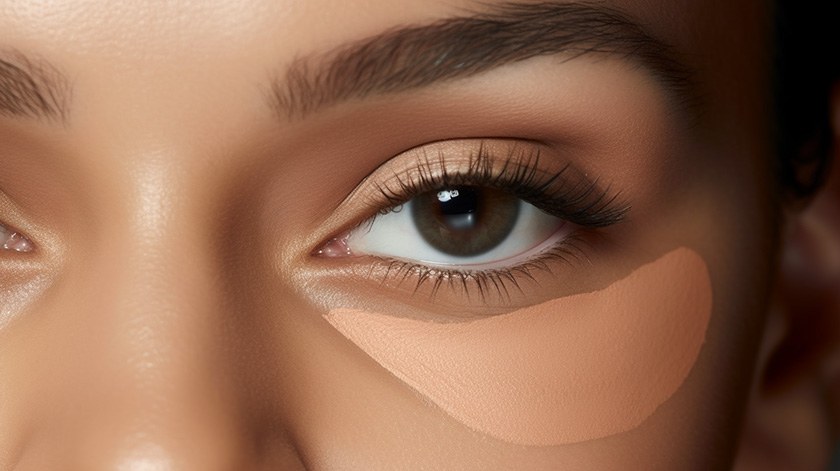
Use the product that you normally apply according to your skin type. If there are any blemishes, marks, or dark circles on your face that you want to hide use a concealer.
Blend in everything using a brush, a beauty blender, or a soft sponge.
If you are using powdered foundation you might want to apply a sort of a setting powder to create a proper base for the contour later on.
Shadow and Contour
After you have prepared the canvas for contouring, it’s now time to define your face shape. Start by contouring the forehead.
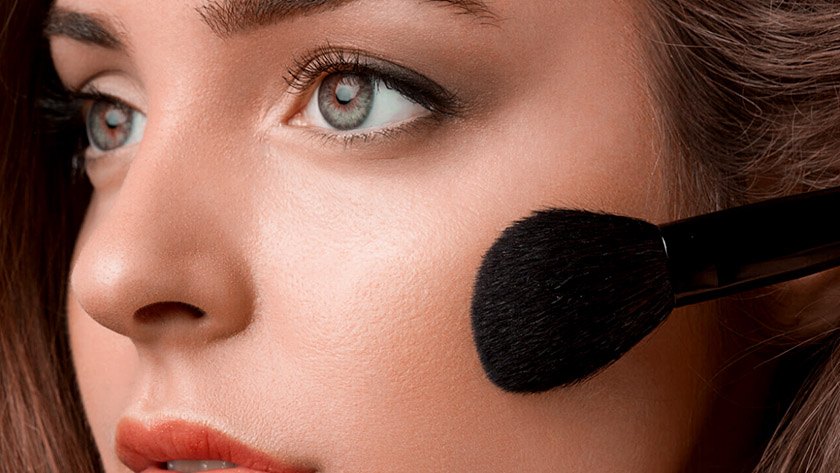
Using a brush gently apply the contouring product along your hairline to create a sense of depth. Start at the temples and apply the products to the top of the forehead, creating a line that’s thick about 1/3 of your forehead.
Now it’s time to move to the cheekbones and jawline. To see where on your chicks you should apply contour, suck them in and the hollow parts below the apples of the cheeks are your aim.
After your cheeks are ready, apply contour underneath the jawline, reaching from one ear and right before the pointy part of the chin.
Before moving on to the highlighter, you can also contour your nose if you want to add more definition. Add some contour to the sides of the nose, which you will later on blend with the highlighter.
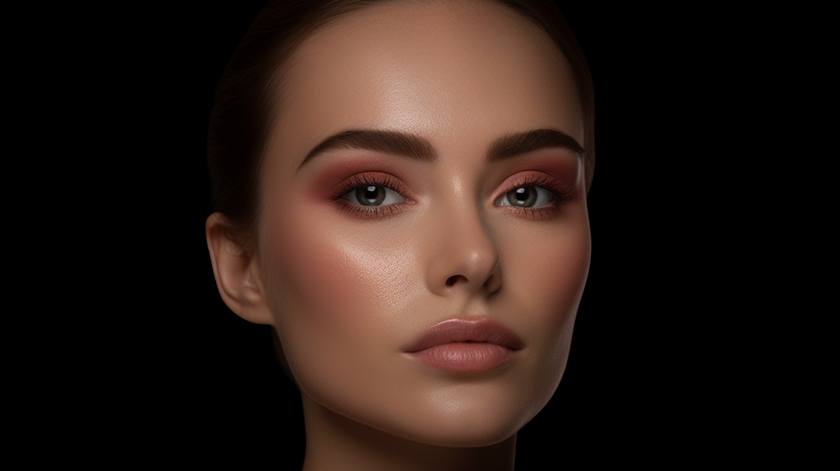
Apply the Highlighter
The highlighter should be applied to those areas of your face that reflect light in natural conditions to enhance the glowing appeal.
Apply it to the top of the cheekbones, over the bridge of your nose and its tip, and on your forehead.
A good way to add detail for an extra dazzling look is to add highlighter in strategic places around your eyes such as the inner corner, and on the brow bone. The cupid’s bow is also a good place to accentuate with highlighter.
Blush it Up
Before blending everything together to create a seamless smooth look, you can add an additional accent that will make you look gorgeous by adding some blush to the apples of your cheeks.
The blush will also give your makeup a general cohesive look, as the borders between the highlights and the shadows could be quite harsh, so you can add blush that will function as a unifying medium.
Blend it In
Good blending is the basis of natural-looking face contouring. It is a step you should pay special attention to if you don’t want all your current efforts to go to waste.
Use a special blending brush, a beauty blender, or a sponge to hide harsh lines and create a smooth transition from the highlights to the shadow parts.
After you’ve blended everything, give your face a final look before setting to determine if there are any areas where you need to add more makeup and blend it in again.
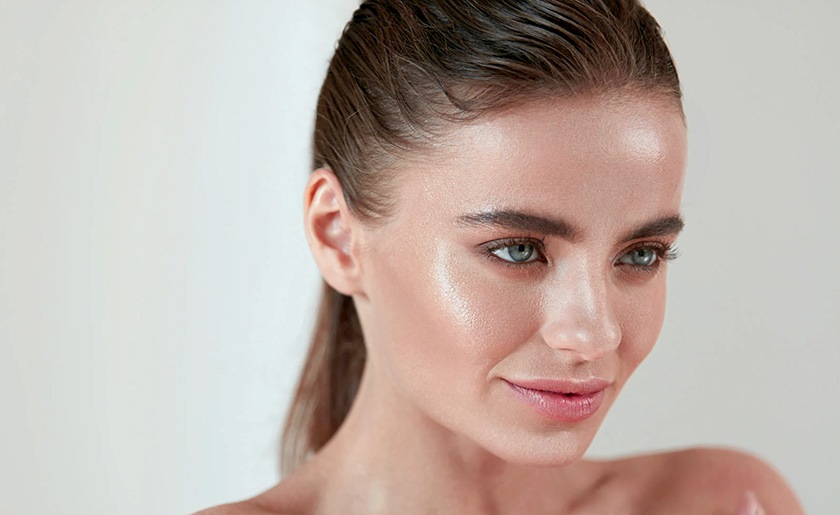
Ready, Set, Go
After you’re done with the blending part, there is one last thing left to do before you’re good to go – setting your makeup.
Use a setting spray to ensure that the results of your hard work will remain in place during the day and in different conditions outside.
Now go out there and rock your look!