Did you know that a clogged kitchen sink is one of the most common plumbing problems in households? Almost everyone encounters this frustrating issue at some point.
Whether it’s due to food scraps, grease, or soap buildup, clogs can create an annoying mess and halt your daily routine. Ignoring a clogged sink can lead to bigger plumbing issues, which is why it’s crucial to address the problem quickly and effectively.
This guide will provide you with simple, DIY methods to unclog your kitchen sink effectively, ensuring you know how to unclog a kitchen sink step by step.
These easy-to-follow DIY steps and home remedies will help you tackle even the most stubborn clogs without calling a plumber. By learning how to unclog a kitchen sink, you will gain confidence in handling these types of household problems.
Understanding the Causes of a Clogged Kitchen Sink
Kitchen sink clogs are a common household problem, often resulting from the accumulation of various materials over time. Understanding the primary causes can help in preventing and addressing these issues effectively.
Common Causes of Kitchen Sink Clogs
One of the main culprits is food scraps. Tiny particles that escape through the strainer can gradually build up, eventually leading to a clog. Items like rice, pasta, and vegetable peels are particularly problematic. These foods not only pass unnoticed through the drain but also absorb water, expand, and create solid obstructions.
For instance, rice expands significantly when wet, turning a minor issue into a severe blockage. Similarly, pasta can turn into a gluey mess, exacerbating the problem.
Examples such as coffee grounds, vegetable peels, and rice are notorious for causing blockages. Left unchecked, food scrap clogs can escalate into complete blockages that require professional intervention.
Another major cause is grease buildup. Pouring grease down the sink might seem harmless, but as it cools, it solidifies and adheres to the pipe walls.
Over time, this creates a stubborn layer that can close off the pipe entirely. Even pouring hot grease down the drain doesn’t help, as it solidifies as it cools further down the system.

Soap residue is another factor that can contribute to sink clogs. Soaps made with fat can combine with minerals in water to form a residue that accumulates over time.
This residue can mix with grease and other materials in the pipes, creating hard-to-remove buildups. Switching to liquid soap, which dissolves more easily in water, can help prevent such issues.
Additionally, installing a water softener can reduce mineral buildup and soap scum accumulation.
Finally, foreign objects accidentally dropped down the drain can cause severe blockages. Utensils, sponges, or even children’s toys can lodge deep in the pipes, requiring disassembly of the P-trap or specialized tools to remove. For example, a small action figure accidentally dropped into the sink by a child could create a sudden, hard-to-resolve clog.
By being mindful of what goes down the sink and adopting preventive measures such as using strainers, disposing of grease properly, and switching to liquid soap, you can significantly reduce the risk of kitchen sink clogs.
Preventative Tips
- Avoid pouring cooking grease – Down the sink by allowing it to solidify and throwing it in the trash;
- Use a sink strainer – To catch food scraps and regularly clean it out to ensure it functions properly;
- Run hot water – Through the sink after every use to keep everything flowing smoothly;
- Educate family members – About proper disposal habits. Awareness alone can make a big difference in reducing clogs;
- Routine Vinegar Flush – Pour a mixture of one cup of vinegar and one cup of boiling water down your drain monthly. This helps keep the buildup in check and reduces the chances of a clog forming.
Preliminary Steps Before Unclogging
Prepare the Sink Area
- Clear the Area – Clear the area around the sink, removing any dishes or obstacles. Having a clean workspace makes the process less frustrating and ensures nothing gets accidentally damaged;
- Remove Standing Water – If there is standing water in the sink, remove it using a small container or sponge. The less water you have in the sink, the easier it is to diagnose and unclog the drain. Standing water also tends to be dirty, so removing it will make the workspace cleaner and safer.
Safety Tips
- Wear Rubber Gloves – Wear rubber gloves to protect your hands from debris, dirty water, or harsh cleaning agents. Consider using nitrile or latex gloves that offer good resistance to chemicals and provide better grip when handling slippery tools;
- Garbage Disposal Safety – If you have a garbage disposal, ensure it is turned off before proceeding to avoid injury. It’s always better to disconnect it entirely if possible;
- Tools Ready – Keep essential tools like a bucket, plunger, and wrench handy. Additionally, keep towels or rags nearby to manage any spills or messes that may occur during the unclogging process;
- Proper Ventilation – If you’re using strong cleaning agents, ensure there’s good ventilation to avoid inhaling any fumes that could be harmful to your health.
Unclogging Methods Overview
Different types of clogs require different methods. Below, you’ll find several DIY unclogging techniques to help you understand how to unclog a kitchen sink that vary depending on the severity and type of blockage.
Assessing the Severity of the Clog
- Minor Blockages – If water is draining but slower than usual, you likely have a minor blockage. This type of clog can often be resolved with boiling water or a simple vinegar and baking soda solution;
- Severe Blockages – If water isn’t draining at all or you notice water backing up into other fixtures, a more advanced method will likely be needed, such as using a drain snake or even disassembling the P-trap;
- Odor Assessment – If there’s a foul smell emanating from the drain, it could indicate organic buildup, such as rotting food or soap scum, which can be resolved with a deep cleaning method.
Step-by-Step Instructions on How to Unclog a Kitchen Sink
Boiling Water
Boiling water is the simplest way to unclog a minor kitchen sink clog, especially if it’s caused by grease or soap residue.
- Boil Water – Bring a kettle of water to a boil. Be careful when handling boiling water to avoid burns;
- Pour in Stages – Slowly pour the boiling water down the drain in two to three stages, allowing it to work for a few seconds between each pour. Be cautious if your sink is porcelain or if your pipes are PVC, as boiling water can potentially cause damage in these cases. This helps dissolve minor clogs gradually;
- Repeat if Needed – If the clog persists, repeat the process two to three times. Sometimes it takes multiple attempts to loosen particularly stubborn grease buildups.
Why It Works – Boiling water helps break down grease or soap buildup, particularly if it’s a newly formed clog. The intense heat can help melt down substances like fat and soap, enabling them to pass through the pipe more easily.
Extra Tip – After using boiling water, you can run hot tap water for a few minutes to further flush out any residue that might still be in the pipes.
Baking Soda and Vinegar

When these two substances mix, they create a chemical reaction that produces carbon dioxide gas, causing bubbling that helps break apart and loosen clogs, making them easier to wash away.
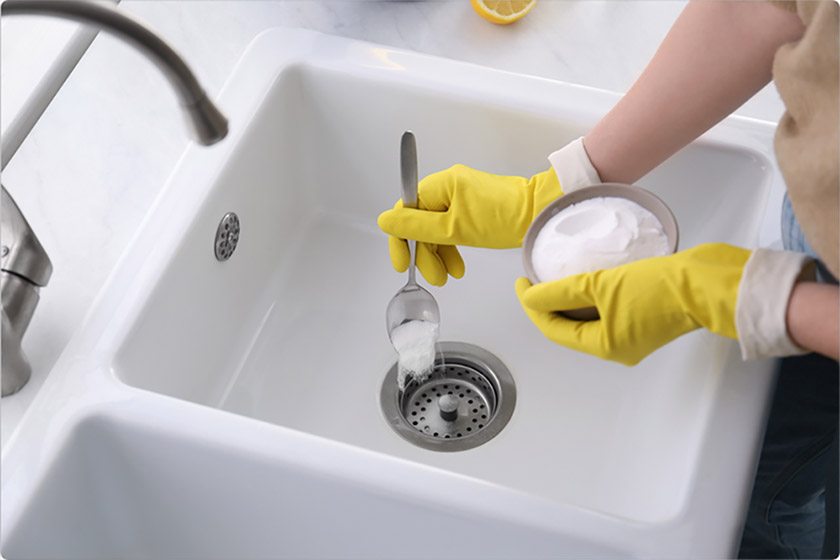
- Add Baking Soda – Pour one cup of baking soda into the drain;
- Add Vinegar – Follow with one cup of white vinegar. Allow the mixture to fizz for about 15 minutes;
- Watch for the Reaction – The fizzing is a sign that the mixture is working to break down the clog;
- Rinse with Hot Water – After the fizzing stops, flush the drain with hot water to wash away the broken-down residue;
- Repeat if Necessary – In case of tough clogs, repeat the process a second time.
Eco-Friendly Option – This method is environmentally friendly compared to commercial chemical drain cleaners, which can be harsh on both pipes and ecosystems.
Practical Advice: – If you want to take it one step further, you can add some salt to the baking soda. The salt adds a slight abrasive texture, which can help scour the inside of the pipes as the solution moves through.
Plunger Technique
A plunger can be very effective for dislodging clogs caused by food particles or soap.
- Choose the Right Plunger – Use a cup-style plunger for kitchen sinks. A cup plunger has a flat rim, making it ideal for flat surfaces like kitchen sinks, whereas a flange plunger has an additional ring that is better suited for toilets. Make sure the plunger is large enough to create a tight seal over the drain;
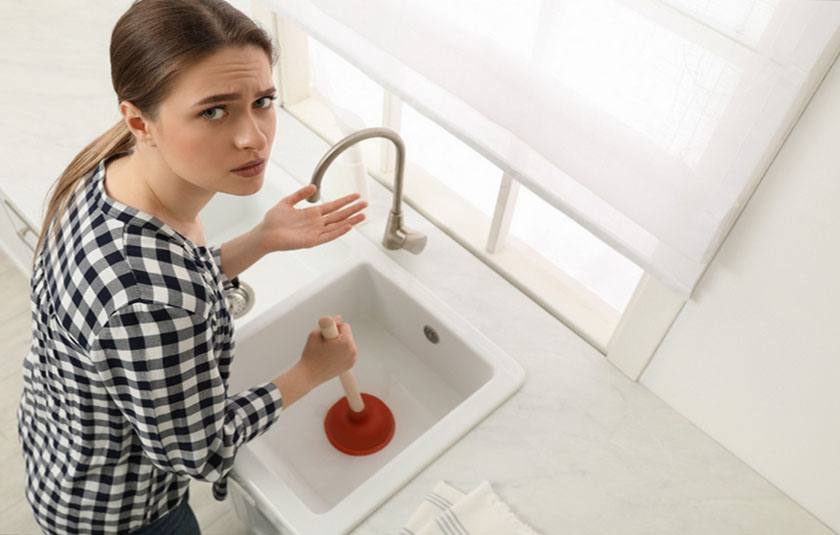
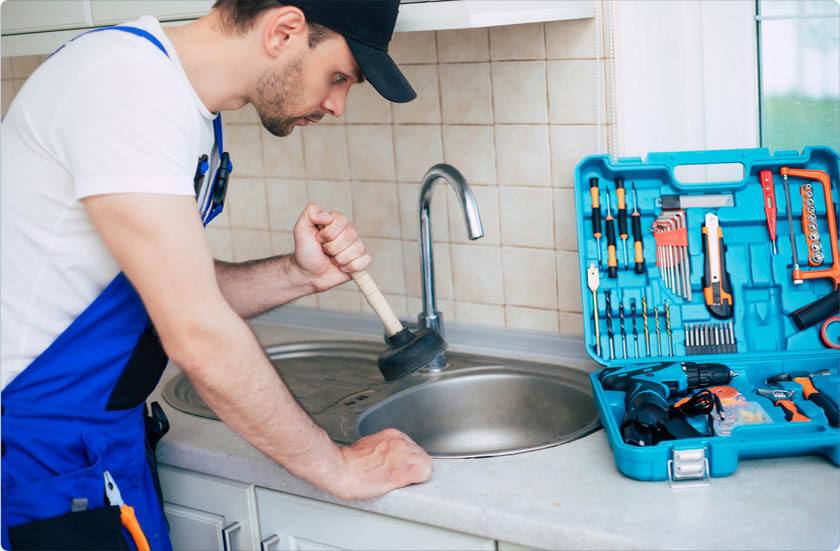
- Seal and Plunge – Place the plunger over the drain and ensure a good seal. Push down and pull up in a steady rhythm for about 20-30 seconds. Repeat this until you notice the water draining more freely.
Real-Life Scenario – Many people report that using a plunger works wonders for food-related clogs, especially when the kitchen has just been heavily used for cooking. Plunging often results in a sudden release, allowing water to drain quickly again.
Drain Snake or Auger
A drain snake (or auger) is used for more stubborn clogs that are deeper in the pipes.
- Insert the Snake – Push the end of the snake into the drain until you feel resistance. Resistance indicates you’ve reached the clog;
- Break Up the Clog – Rotate the handle to break apart the blockage, and then pull the snake out to remove debris. Repeat this process if necessary to ensure the entire clog is removed.
When to Use a Power Auger For extremely stubborn clogs, consider renting or purchasing a power auger. This tool provides more power, which can help break up tough blockages more effectively.
Additional Tip – While learning how to unclog a kitchen sink, if you encounter resistance that doesn’t seem to move, you might be hitting a turn in the pipe, avoid forcing it too hard as it could damage the pipes, and instead carefully twist the auger to navigate through.
Cleaning the P-Trap
The P-trap is the curved pipe beneath your sink, and it can often accumulate debris that causes clogs.
- Place a Bucket Under the P-Trap – This will catch any water or debris that comes loose when you unscrew the P-trap;
- Unscrew and Clean – Use a wrench to unscrew the P-trap, remove it, and clean out any buildup. You may need a small brush to thoroughly clean it;
- Reattach the P-Trap – Once cleaned, reattach it and check if the water flows smoothly.
Benefits of Cleaning the P-Trap – By cleaning the P-trap, you physically remove the obstruction, which can be particularly effective if items have been accidentally dropped down the drain.
Practical Example – Cleaning the P-trap is a method that often surprises people with how effective it is. Many users have reported finding unexpected items like bottle caps or small utensils that had accidentally fallen in, causing the clog.
Using a Plumber’s Snake
For deeper clogs, using a plumber’s snake or a power auger may be necessary.
- Manual Snake vs. Power Auger – A manual snake is good for most household clogs, but a power auger is used for very stubborn blockages;
- When to Use – If you’ve tried other methods and the clog persists, using a plumber’s snake is a more aggressive solution.
Consider calling a professional plumber if the clog does not clear or if you’re unsure how to proceed with these tools.
When to Call a Professional Plumber

Despite multiple attempts with a drain snake and baking soda and vinegar solutions, the blockage remained, requiring a professional plumber to use specialized tools and cameras to identify and fully clear the obstruction, providing valuable insight into how to unclog a kitchen sink effectively.
Here’s when you should consider professional help
- Persistent Clogs – If the sink remains clogged after trying all DIY methods;
- Noises from Pipes – Gurgling or other strange noises could indicate a serious blockage or ventilation issue;
- Water Backup – If water is backing up into other sinks or drains, it may indicate a more systemic problem;
- Unpleasant Odors – If you’ve tried all unclogging methods and still detect a foul smell, it might mean organic buildup in the pipes that requires a more intensive professional cleaning.
Professional plumbers have the tools and expertise needed to diagnose and address these issues effectively. For many, understanding how to unclog a kitchen sink can save significant costs, but a professional’s expertise is invaluable when DIY solutions fall short.
Preventative Measures to Keep Your Kitchen Sink Clear
Tips to Prevent Future Clogs
- Avoid Grease – Never pour cooking grease or oil down the drain. Instead, pour it into a container and dispose of it in the trash;
- Use Sink Strainers – Always use a strainer to catch food scraps. Empty the strainer frequently to ensure it functions effectively;
- Regular Maintenance – Pour boiling water down the drain once a week to help prevent buildup. However, if you have PVC pipes, consider using hot (not boiling) water to avoid potential damage;
- Vinegar Maintenance Flush – Once a month, flush the sink with a mixture of one cup baking soda and one cup vinegar to keep the pipes clear and fresh;
- Proper Use of Garbage Disposal – If you have a garbage disposal, run plenty of cold water while it’s operating and avoid putting fibrous items like celery, onion skins, or corn husks into it. Additionally, avoid items such as potato peels, coffee grounds, eggshells, and fruit pits, as these can also cause blockages or damage to the disposal blades;
Create a Routine Develop a weekly routine that includes flushing your drains with hot water and being mindful of what goes down the drain. A little proactive effort can save you from bigger problems down the line.
Educate Family Members Inform everyone in the household about what can and cannot go down the kitchen sink. Children, in particular, should understand why items like toys or wrappers are dangerous for the plumbing.
Clogged kitchen sinks can be a hassle, but with these simple DIY techniques, you can learn how to unclog a kitchen sink quickly and effectively, making sure you know how to unclog a kitchen sink without professional help.
From using boiling water to removing and cleaning the P-trap, there’s a method for every type of clog.
By following these preventative measures and tackling clogs early, you can save yourself time, money, and frustration.
Remember, if a clog persists or you’re dealing with a complicated issue, and you are unsure about how to unclog a kitchen sink, it’s always wise to call a professional plumber.
Attempting to fix severe clogs without proper tools and experience can lead to pipe damage, leaks, or even more costly repairs in the future.

